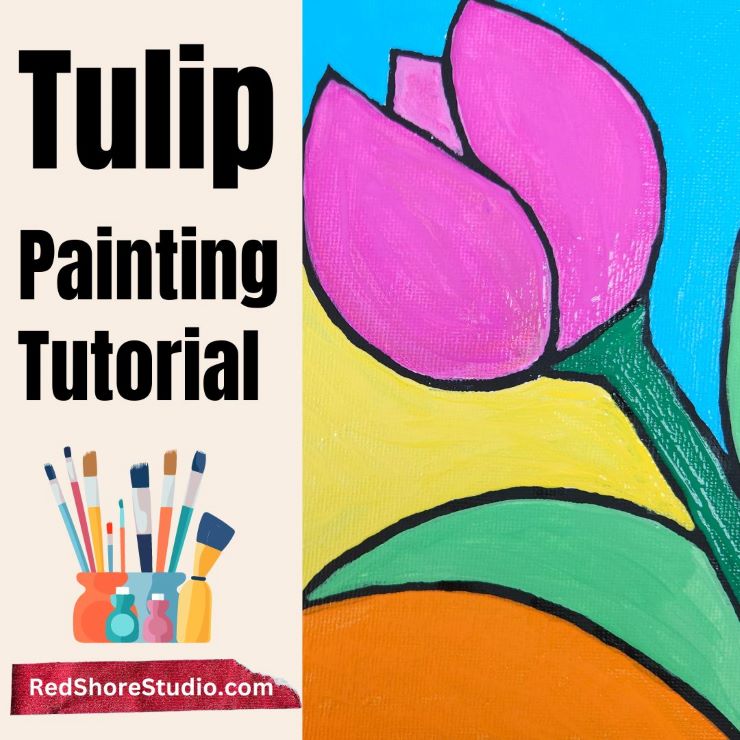
Create a beautiful tulip painting with this easy tutorial designed for kids and seniors. Use the included tulip template and follow these simple steps to create your own masterpiece.

Let’s explore the joy of painting with vibrant colours!
Create a Beautiful and Easy Tulip Painting
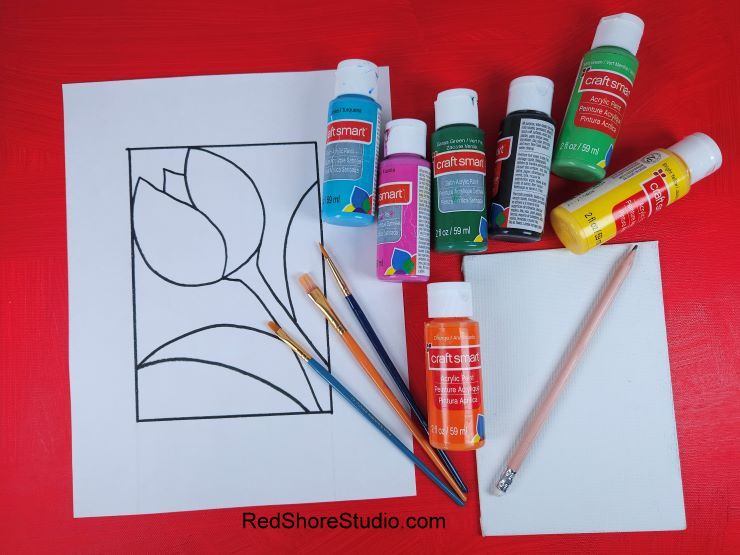
Materials you’ll need:
- Paint: acrylic or tempera (black, white, pink, purple, blue, green, yellow, orange)
- Paint brushes
- Small canvas panel 5 x 7 inches or thick paper
- Cardboard, newspaper or plastic cover to protect the table surface
- Cup with water for rinsing the brushes
- Paper towel to clean the brushes
- Paper plate to pour the paint
- Pencil
- Scissors
- Masking tape
- Tulip template

Instructions:
1. Start by printing out the tulip template provided above.
2. Cover the entire 5×7 inch page with a pencil, shading it in grey. The darker the shading, the better for tracing. Once completed, turn the sheet face up.


3. Tape the template on top of the canvas panel and start tracing along the lines.

3. Remove the template and you should have a light grey picture of a tulip

4. Paint along the traced lines with black paint. For best results, let the paint dry before moving on to the next step.

5. Start by applying paint to the empty spots. If the colours appear too light, apply a second coat. If the colours are too dark, mix in some white paint to lighten them.

6. Here is your completed tulip painting!

Framing the painting and giving it as a gift it’s a beautiful idea for a special occasion. Try painting this project multiple times with different colour variations. Keep smiling and enjoy the painting!


If you are looking for more flower painting tutorials, check out this tutorial I created over at Teaching Our Kids.


